


How to Choose the Right Industrial Adhesive: A Practical 5-Step Framework
Introduction
If a bond fails in the field, on the production line, or during testing, the adhesive itself is rarely the problem. The real culprit is almost always choosing the wrong adhesive for the specific combination of materials, stresses, environment, and manufacturing process.
In 30+ years working with dispensing equipment across industrial production environments, the pattern I see repeatedly is this: a team picks an adhesive based on strength numbers on a datasheet, ignores the substrate, the environment, and the dispensing process — and then spends months troubleshooting failures that were predictable from the start.
Here is the framework that prevents that. Work through these five steps before you commit to any adhesive, and you will dramatically improve your odds of a reliable bond and a process that actually runs.
Step 1: Start With the Substrates
This is the non-negotiable first question: what are you actually bonding?
Different materials have different surface energies — how "receptive" they are to adhesives.
High surface energy materials — clean steel, aluminum, glass, most composites — accept most adhesives well once properly cleaned and sometimes lightly abraded.
Low surface energy plastics — polyethylene, polypropylene, some acetals, many engineered plastics — behave like Teflon. Standard adhesives bead up and fail. You need either low-surface-energy-formulated adhesives, primers, or surface treatments (plasma, flame, or chemical activation).
Dissimilar material joints are where most teams get into trouble. Bonding an aluminum housing to a plastic connector in an EV power electronics module? The aluminum is straightforward. The plastic may require a toughened acrylic, a 2K urethane, or a primer-plus-epoxy system. Get surface prep wrong and the bond fails under thermal cycling regardless of adhesive strength on paper.
Practical rule: Always clean. Oils, mold release, fingerprints, and shop dust are bond killers. Isopropyl alcohol or a dedicated cleaner is cheap insurance. For critical work, use a water break test or dyne pens to verify surface cleanliness before bonding.
Step 2: Define What the Bond Must Survive
Ask: what will try to pull this joint apart over its entire service life?
Mechanical loads: Shear (sliding forces), peel (starting at an edge), tensile, impact, or constant vibration and fatigue. These have very different implications for adhesive selection.
Temperature range: Cold can make some adhesives brittle or too viscous to dispense consistently. Heat can soften others or accelerate aging. Thermal cycling between dissimilar materials (metal + plastic) generates repeated stress at the bond line.
Chemical and fluid exposure: Oil, fuel, coolant, cleaning solvents, brake fluid, humidity, or salt air. Many adhesives that look strong in a lab will degrade quickly in the right chemical environment.
Other exposures: UV light, moisture cycling, vacuum outgassing requirements (aerospace or electronics), or sterilization processes (medical).
If your part sees multiple stresses simultaneously — vibration plus temperature cycling plus chemical splash, for example — you almost always need a toughened or flexibilized version of the base chemistry, not a standard general-purpose product.
Step 3: Match the Chemistry to Your Process
This is where many teams go wrong. The best adhesive on a datasheet can be a production nightmare if it doesn't fit your dispensing method, open time, fixture requirements, or cure conditions. For a chemistry-level comparison of epoxy, silicone, MMA, UV, and cyanoacrylate, see How to Choose the Right Adhesive Chemistry.
The five major families used in precision manufacturing:
2K Epoxies — High strength, excellent chemical and thermal resistance, good gap filling. Two-part systems require accurate ratio control — off-ratio results in soft spots or incomplete cure. Heat cure dramatically improves properties. Rigid by default; toughened versions absorb movement better. Abrasive filled versions (thermal or electrical conductivity) require robust dispensing equipment.
2K Urethanes — Good balance of strength and flexibility at often lower cost than epoxies. Excellent on plastics and composites. Absorb vibration and CTE mismatch well. Moisture during cure can cause foaming — humidity control on the shop floor matters. Lower maximum temperature than epoxies.
Silicones (RTV or 2K) — Temperature and flexibility champions. Remain rubbery from -50 °C to 200 °C+. Excellent sealing against moisture, UV, and weathering. Lower mechanical strength than epoxies — best where sealing matters as much as bonding. May need primer on certain substrates.
UV-cure materials — Speed when line-of-sight is available. Cure in seconds under the right wavelength. Ideal for electronics assembly, medical devices, optical bonding. Shadow areas may need a secondary cure mechanism (heat or moisture). Best with lower-viscosity formulations for jetting or precision needle dispensing.
2K MMAs (Methyl Methacrylates) — Fast structural strength (minutes at room temperature), excellent toughness and impact resistance, good adhesion to dissimilar materials. Noticeable odor during cure. Mix ratio is critical.
Key process questions to answer before selecting:
- Do you need fast fixturing for throughput, or can parts go in fixtures or an oven?
- Is the material 1K (simpler) or 2K (needs precise metering and mixing)?
- What viscosity works with your dispensing equipment? Low viscosity for needle or jet dispensing; higher viscosity or thixotropic for beads that hold on vertical surfaces.
- What are the actual cure conditions on your production floor — temperature, humidity, UV availability?
Mismatching adhesive to process is the direct cause of nozzle clogging, stringing, incomplete cures, and inconsistent bead geometry.
Step 4: Design the Joint and Control the Application
Even the right adhesive underperforms in a poorly designed joint or when application is inconsistent.
Lap joints (overlapping surfaces) are dramatically stronger in shear than butt joints. Bond line thickness matters — too thick loses strength; too thin creates starved areas.
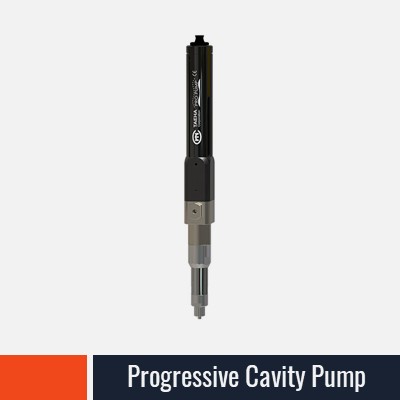
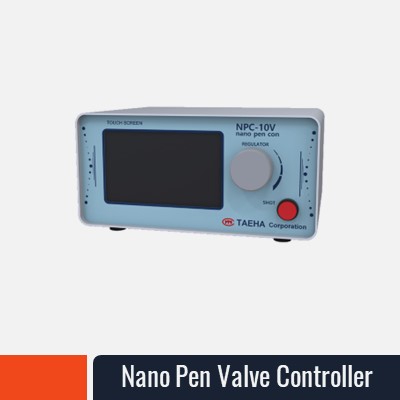
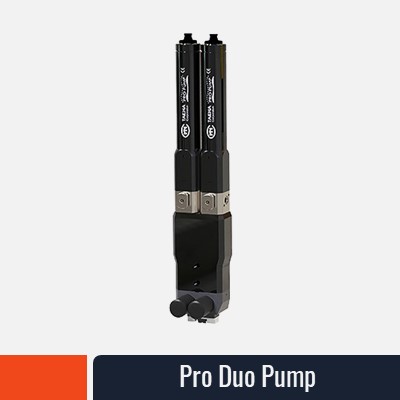
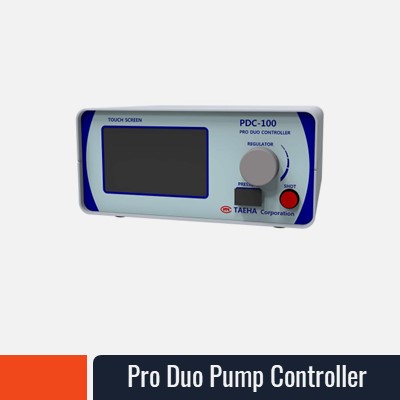
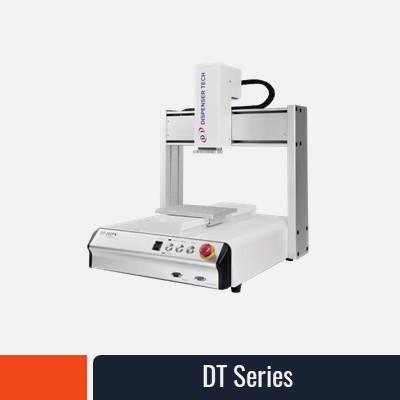
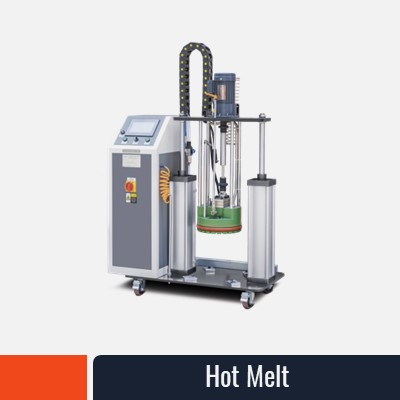
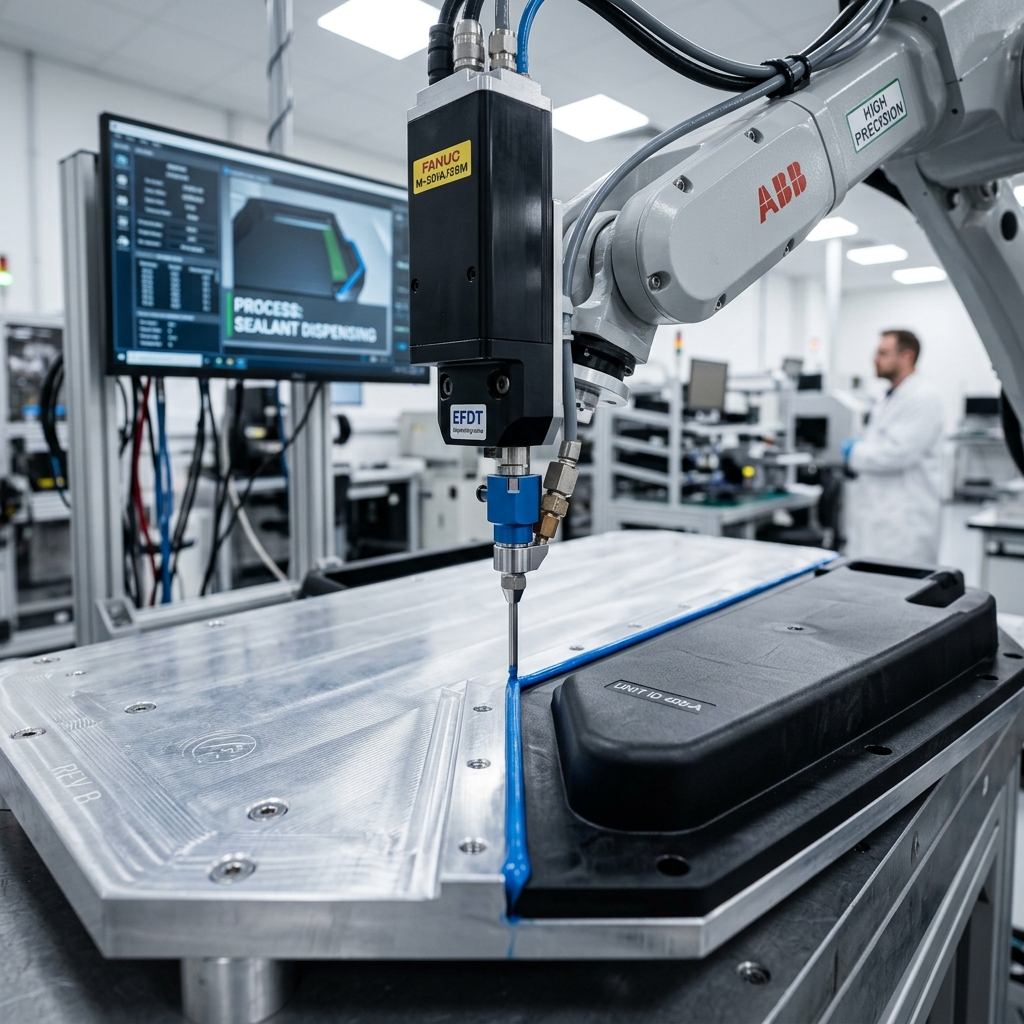
For automated or semi-automated lines, consistent bead size, placement, and mix ratio for 2K systems are essential. This is where precision dispensing equipment — progressive cavity pumps, meter-mix systems, or dispensing robots — pays for itself by eliminating the variables that kill bonds in production.
The adhesive's viscosity, reactivity, and filler content will directly determine whether you need a simple pressure system, a positive-displacement pump, heated lines, or a full meter-mix-dispense cell. Get that match right before you finalize the adhesive selection — not after.
Step 5: Validate Under Real Conditions
Step 5 should include your dispensing method — choosing the right adhesive dispensing system covers 1K vs 2K, viscosity, and whether your process needs a robot or a benchtop unit.
Datasheets are starting points, not guarantees. Always test in the actual joint configuration, with your surface prep method, under the temperature, chemical, and load conditions the part will actually see — and after the full cure cycle your process allows, not just fixture time.
Simple pull tests, twist tests, or environmental chamber tests on the shop floor catch most problems before they reach customers. For critical applications, follow relevant standards (ASTM, ISO, or customer-specific specs) or work with your adhesive supplier's technical team.
Common Mistakes That Show Up Repeatedly
Using a general-purpose adhesive when the application has specific chemical or thermal demands.
Ignoring low-surface-energy plastics or skipping surface preparation to save time.
Choosing the fastest-curing option without accounting for alignment time or fixturing needs.
Assuming "stronger" is always better — sometimes a slightly more flexible adhesive survives thermal cycling or vibration far longer than a high-strength rigid one.
Forgetting that production conditions (cold shop in winter, humid summer, dusty environment) affect both dispensing quality and cure.
The Bottom Line
Choosing the right adhesive is part materials science, part process engineering, and part production reality. Get the substrates, stresses, environment, and manufacturing constraints aligned, and you dramatically improve your odds of a bond that performs reliably — and a process that runs without constant rework.
Your dispensing method — manual, semi-automated, or a full adhesive dispensing robot — should be decided alongside the adhesive, not after.
Once the chemistry is selected, consistent application is the next critical variable. If you're working through an adhesive selection for a specific bonding challenge — metal-to-plastic, vibration-resistant assemblies, electronics potting, or anything involving 2K systems — the pump configurator is a useful starting point for understanding your dispensing requirements, or get in touch directly.
Gavin Petersen has spent 30+ years in industrial fluid dispensing, including senior roles at Graco. He works directly with manufacturing engineers to match dispensing equipment and process parameters to real-world production requirements.