


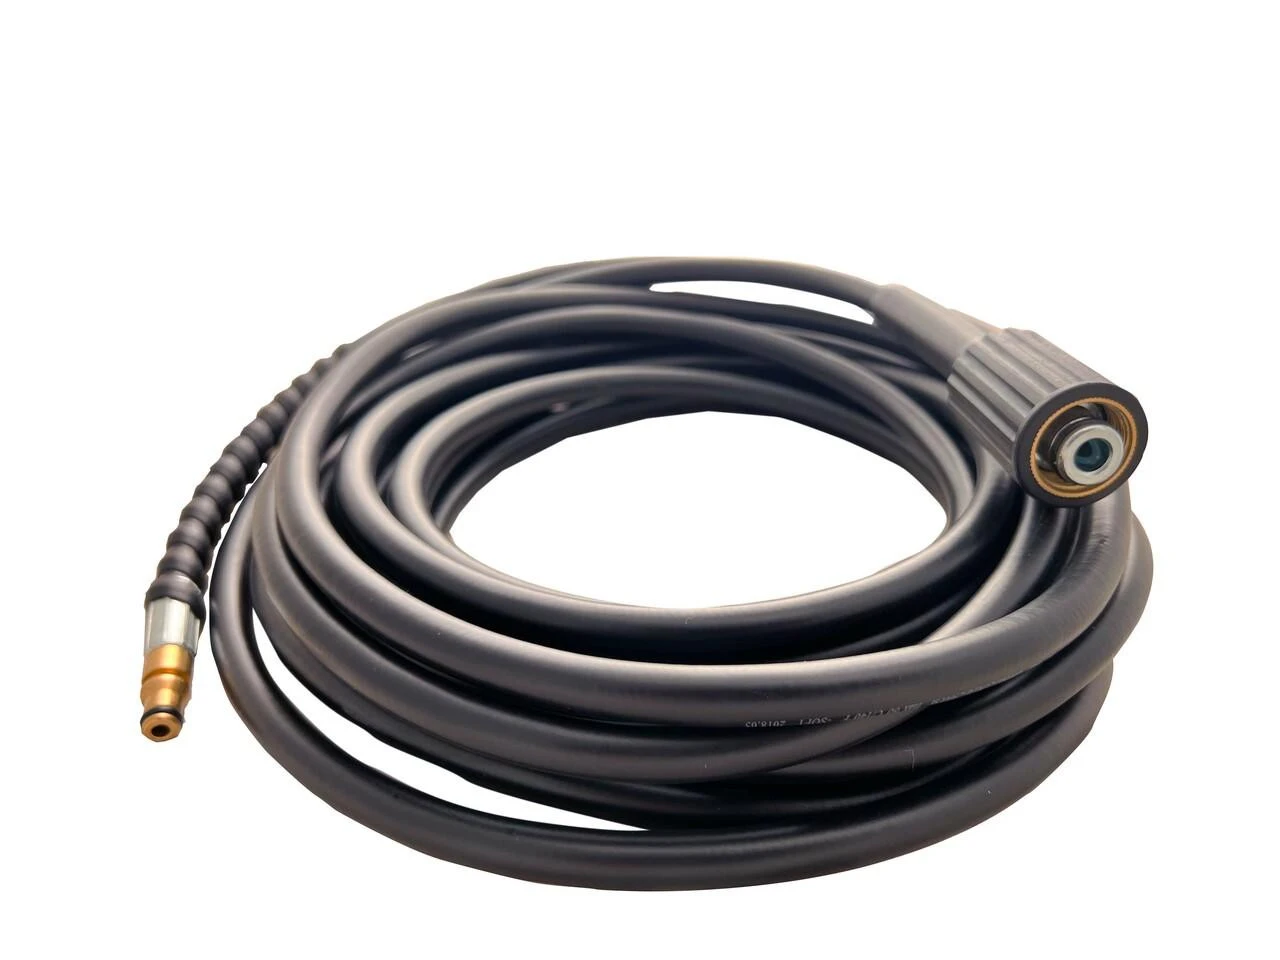
Comprehensive Guide how to replace 5207w hose replacement
Replacing the 5207W hose and the suction hose assembly in your machine involves several detailed steps, from disassembly to reassembly. This guide outlines each step with careful attention to safety, proper installation, and testing.
Safety Precautions It is essential that the appropriate safety precautions are taken before starting the operation. Before anything else, make sure the equipment is turned off and unplugged from the power source to prevent any unintentional operation or electrical risks, especially if the system involves fluid. Always protect yourself against sharp items and leftover fluid by donning appropriate personal protective equipment (PPE), such as gloves and safety glasses.
H2Disassembling the Machine
The machine must be disassembled in order to access the hose and suction hose assembly. The machine's clean and dirty water tanks should be taken out first. After removing the tanks, take the three screws and loosen them from the clean water tank side. Remove the clean water tank base once the screws have been removed. On the side of the filthy water tank, repeat these steps by removing the three screws and lifting off the foundation. After removing the bases, turn the machine over so you can reach the bottom suction hose assembly. Take off the three screws holding the machine's suction hose assembly in place. Place the machine back in an upright position after removing the suction hose. Next, unscrew the two screws on the clean water tank side in order to gain access to the pump assembly.
Detaching the Water Hose
It's time to disconnect the water pipe now that the machine is open. Squeeze the tabs and slide the hose clamp away from the retaining barb with pliers. Put the clamp away so you can restore it later. Pull the water hose gently away from the pump unit, taking care to avoid breaking any parts. To completely remove the hose from the machine, thread it through the dirty water tank side after it has been freed from the pump. At this point, the machine's suction hose assembly can be removed for replacement.
Suction Hose Replacement
Making sure the new water tube follows the original course through the bottom of the filthy water tank side is the first step in installing the replacement suction line. Make sure the replacement suction hose assembly is fully seated before inserting it into the machine base. Turn the machine back over so you can reach the suction hose assembly screw holes and replace the assembly with the three screws.
The new water hose should be carefully routed below the machine's central base and up to the side of the clean water tank. It's crucial to make sure the hose is routed around the screw bosses to prevent pinching, which over time may result in damage or restricted flow. ###You must fasten the water hose to the pump assembly after installing the suction hose assembly. To begin with, replace the hose clip onto the water hose. If required, you can easily move the clamp by using pliers to loosen it. After that, make sure the water hose completely seats over the retention barb before attaching it to the pump assembly. When the hose is in the right position, lock it firmly in place by sliding the hose clamp over the retention barb with the pliers. This guarantees a tight seal on the line to stop leaks, especially when pressure is applied.
Reassembling the Machine
It's time to put the machine back together after the hoses have been changed and fastened. Using the two screws that you previously removed, begin by fastening the pump assembly back onto the clean water tank side. After that, replace the clean water tank base into the machine, making sure it fits completely before tightening the three screws.
Make sure the dirty water tank base is properly seated before screwing it in. Repeat the procedure on the dirty water tank side. Lastly, put the clean and dirty water tanks back into the machine where they belong.
Complete Testing and Leak Detection
It's crucial to test the device and look for leaks after reassembly is complete. Re-plug the machine and turn it back on. Pressurize the system gradually while checking the hose connections, paying particular attention to the points where the water hose joins the pump and suction hose assemblies. Run a test run to make sure the machine is functioning properly. Make careful to keep an eye out for any leaks or other problems with the system. Make sure everything is firmly in place by double-checking the hose clamps and fittings if you see any issues.
The 5207W hose and suction hose assembly will be successfully replaced if following procedures are followed. The performance of your machine will be maintained, and potential leaks or malfunctions will be avoided, with cautious disassembly, careful installation of the new hoses, and meticulous reassembly. Your equipment will last longer if you do routine inspections and promptly replace any worn-out parts.